Hi Everyone! Today’s card is an extra fun one because I presented it at our Inkin’ Krew World Card Making Day event this past Saturday. If you are hopping over from that group, or are new here, welcome to my blog! You will find the card stock measurements at the end of this post. You will also find a link to purchase some of the products that I used in this card below the last photo. I hope you enjoyed my presentation and picked up a couple tips. If you would like to follow me on facebook, you can do that here. I do tutorials on Tuesdays at 7:30pm EST if you want to stop by, tonights tutorial is featuring the pretty pillow box dies!
The event Saturday was so much fun to watch and be a part of, the Inkin’ Krew really is full of talented demonstrators and if you are interested in checking it out the replays are all there. It will be archived before long so don’t wait! You can join the group here!
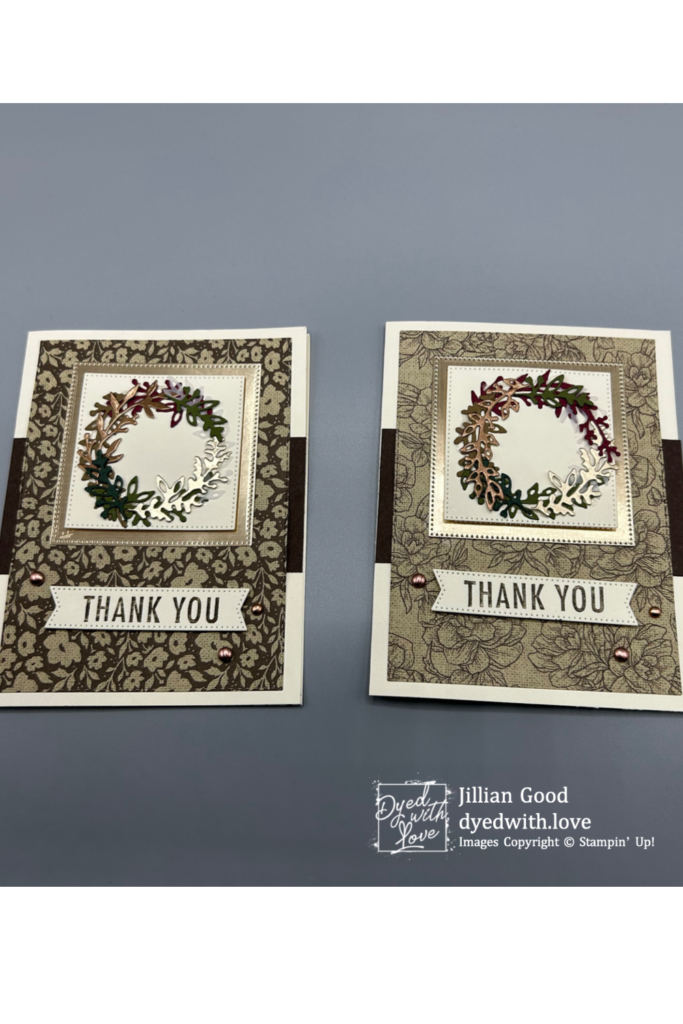
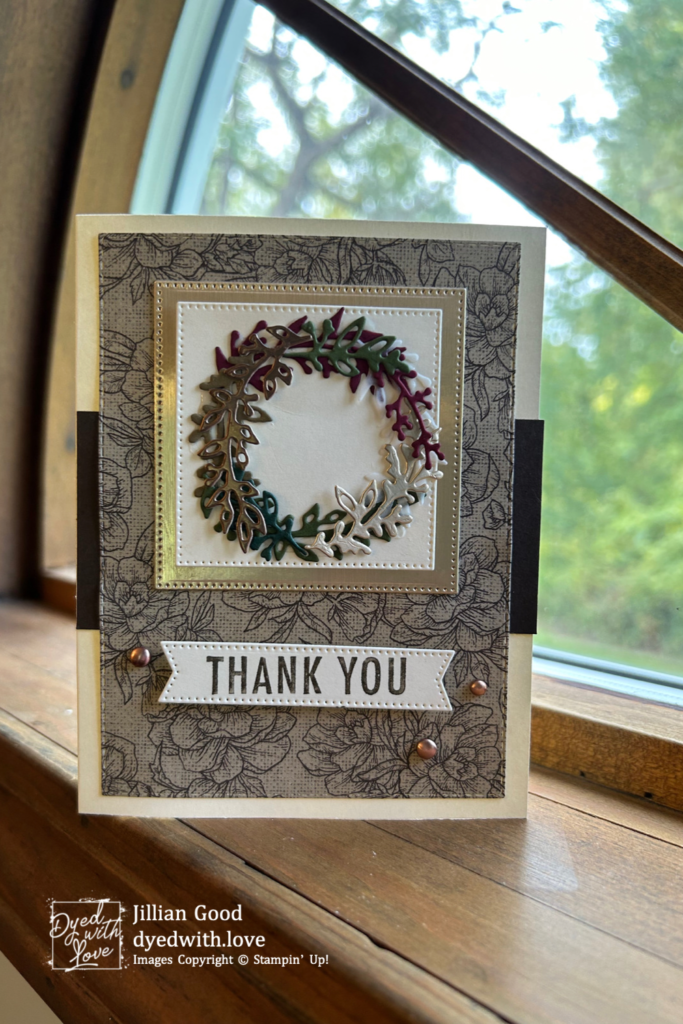
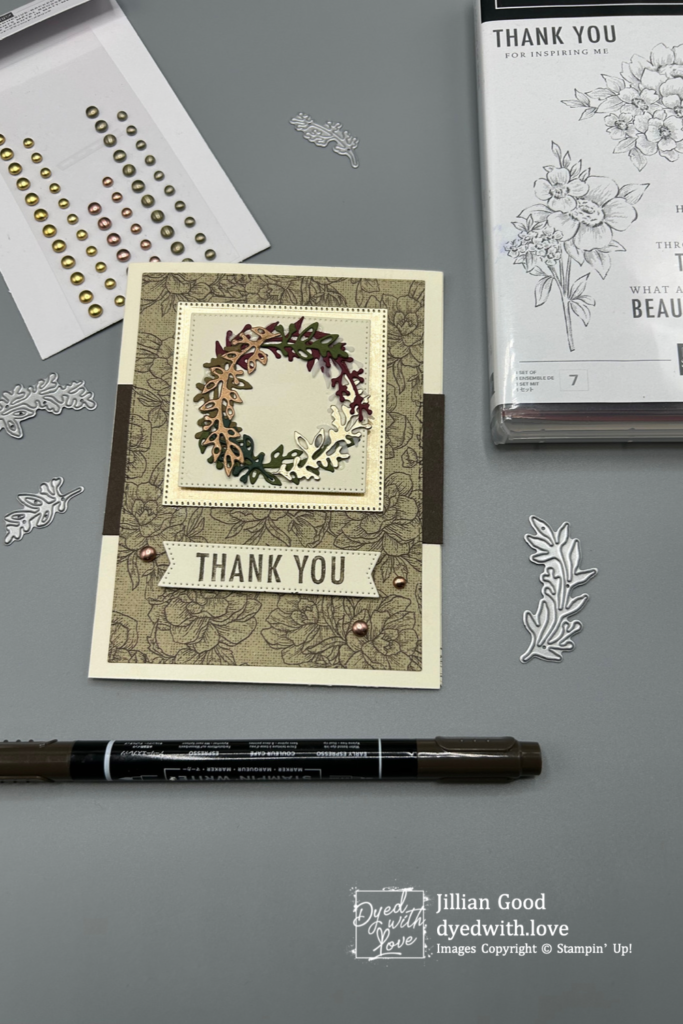
To begin I used an A2 sized card base in Very Vanilla. I then cut a panel of Abigail Rose Designer Series Paper with the largest Stitched Rectangles die. Above you can see the sample I made beforehand next to the one I made live, both papers are from the Abigail Rose DSP pack. To create the illusion of a belly band, I used Early Espresso cardstock and cut it into two matching pieces, lining it up on the grid paper helped me to make sure they were symmetrical and allowed me to used less of my precious cardstock.
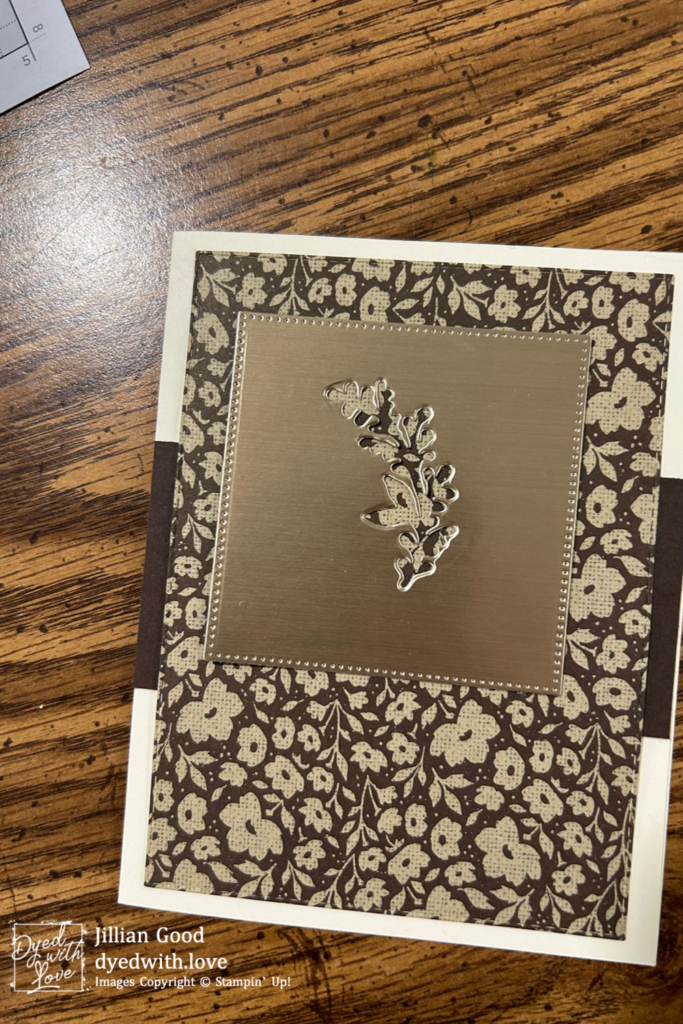
For the background of my wreath and my banner, I used the Stylish Shapes dies. The squares I used are the two biggest ones and the banner I used is the smaller of the two longer ones. I cut these out of Very Vanilla Cardstock and Brushed Metallic Specialty Paper. Below you will see my sneaky trick to make sure to use every little piece of specialty paper up. When you have a mat that only the edges peak out of, it makes perfect sense that you don’t want to waste that beautiful paper that isn’t seen. For the sentiment, I used an Early Espresso Stamp n Write marker so that I could be precise enough to only color the ”thank you” part of the sentiment. Don’t forget when using these markers to stamp, to give it a bit of breath to re-moisten the ink before placing on your card.
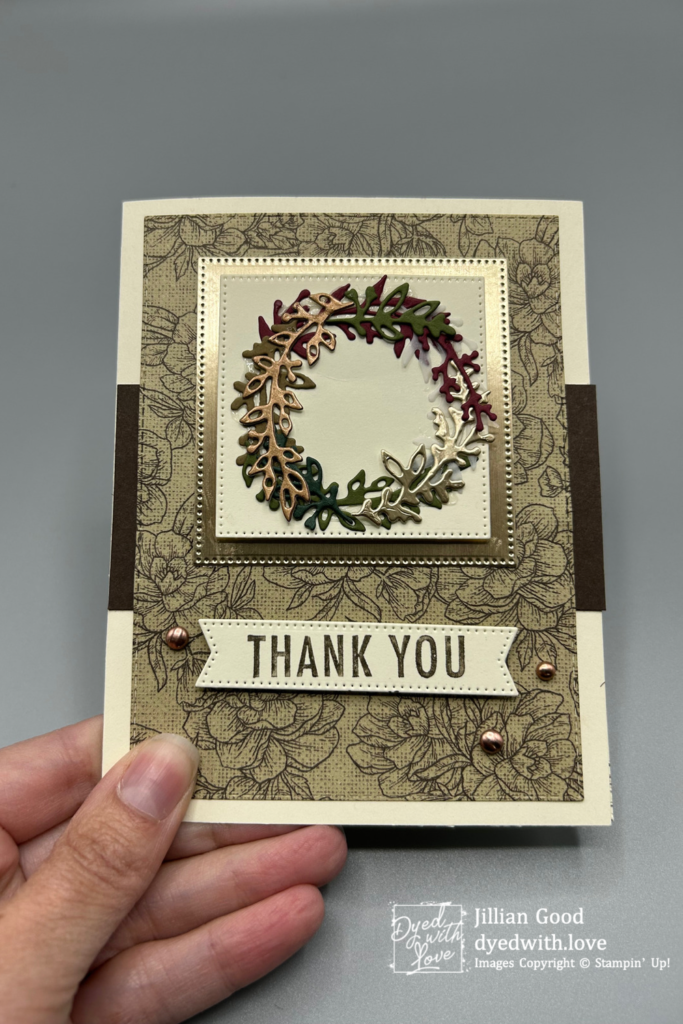
For the wreath, I used the flowers of home dies. The pieces are already curved so they make a great wreath. In order to make sure that my wreath was a circle and not some other weird shape, I took the circle that coordinated best with the squares that I chose from the Stylish Shapes dies, and traced it with a pencil. This made a template for me to follow when gluing my pieces down. For the pieces I used cardstock colors from both the Neutrals and the Regals packs, along with Vellum, Brushed Metallic paper and a few other colors. To be honest I just took out my scrap bin and started pulling colors that I thought went well together (Full list of exact colors below).
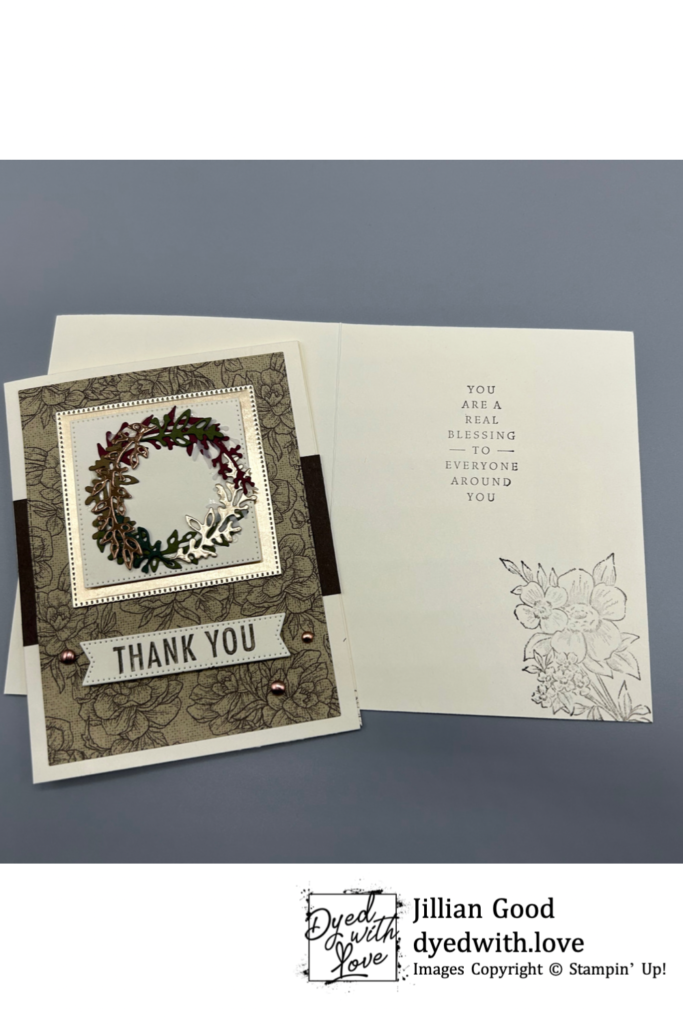
For the inside of the card, I used Early Espresso Ink, and stamped right on my card base. You could put another panel in there if you wanted some dimension, or to not have to start over if it doesn’t go as planned, but for this I just stamped right on there. As for which adhesives I used, I mostly used liquid glue, this helped me to be able to layer the wreath pieces on nicely and allow time for positioning the mat pieces. The only things that I used Stampin’ Dimensionals on were the two Very Vanilla panels -the sentiment and the square that holds the wreath. For a finishing touch, I added Brushed Metallic Dots around the banner on the front.
Thanks for taking a look at my card. If you would like to order any of the items that I used to make this card, here is a link to my card at my online store You can choose to order all of items, or uncheck the ones you don’t want. Not everything I used is in that list. So feel free to reach out if you have questions when ordering. (Jillian@dyedwith.love) Take a look at the promotions going on below today too, you don’t want to miss out on an extra special deal! All the details are listed at the very end of this post.
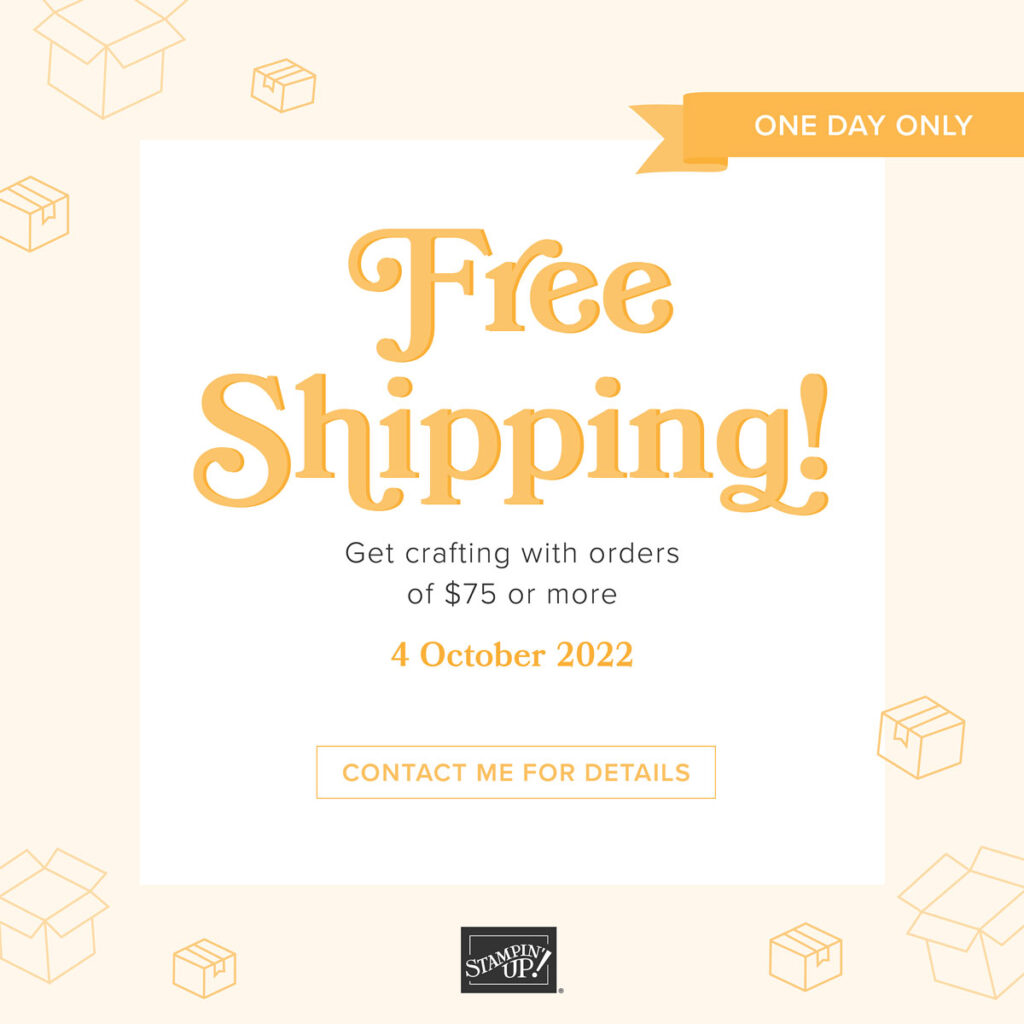
Today ONLY!! Free Shipping on orders $75 or more!!!!
Details:
- All order types qualify for this promotion (customer, demonstrator, workshop, and online).
- Free shipping applies after the qualifying amount (per market) has been met.
- The minimum qualifying amount to receive free shipping is $75 USD | $100 CAD or more (before tax).
- If you or your customers are using a coupon code or product credit, please remember that they are non-commissionable and will lower the order’s retail amount. The order must still meet the qualifying threshold to be eligible for free shipping.
- Free shipping only applies during the 24-hour period the promotion is live in each market; this means that the order must be opened and closed on 4 October 2022.
- With the exception of month-to-month Paper Pumpkin subscriptions, all Stampin’ Up! products qualify for the promotion.
- Prepaid Paper Pumpkin subscriptions are eligible for FREE shipping under the same rules as all other Stampin’ Up! items during the promotion.
- Month-to-month Paper Pumpkin subscriptions are NOT eligible for free shipping. Subscriptions billed and shipped this month will be charged for the normal amount ($23.50 USD | $32.50 CAD shipping included) + tax.
- The free shipping promotion does not cover the additional cost for expedited shipping.
ORDERING DEADLINES:
- Phone: 4 October; 6:50 p.m. (MT)
- OEX/Online: 4 October; 11:59 p.m. (MT)
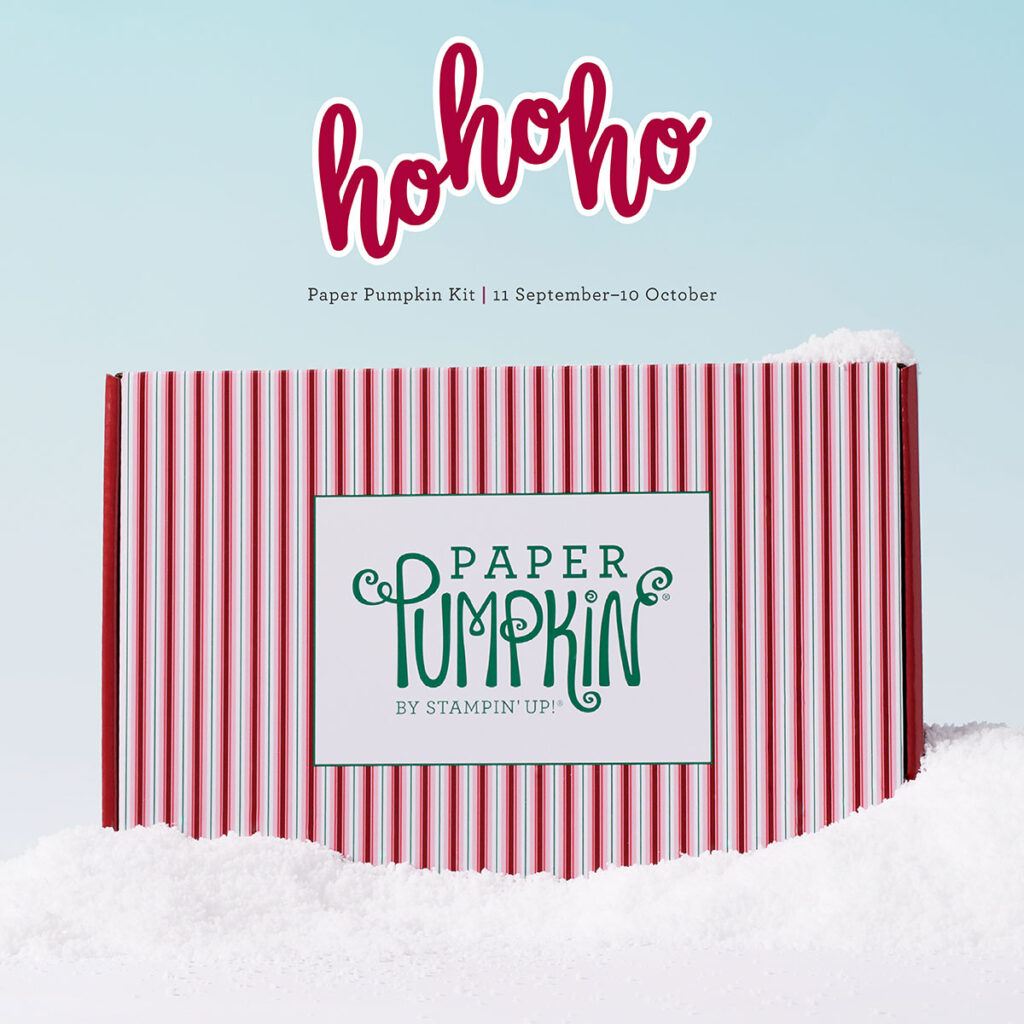
October’s Paper Pumpkin:
‘Tis the season to make your own Christmas cards with the Ho Ho Ho Paper Pumpkin Kit! This kit contains whimsical designs of Santa and his reindeer in a classic Christmas color palette which is sure to match various styles of holiday décor and look great on mantles everywhere.
Each kit contains enough supplies to create 9 festive cards—3 each of 3 designs—and 9 coordinating envelopes. These cards are sure to bring the warm holiday spirit.
And word from the North Pole is that this kit coordinates with next month’s Paper Pumpkin tag kit and the special add-on product! With so much coordination between products, you’ll have a breeze at creating a cohesive look for all your holiday gifting needs. Make this season the most wonderful time of the year for your loved ones—and for yourself!
Paper Pumpkin subscribers also get to enjoy Stampin’Up!’s FREE shipping!
Pay $0 shipping on orders subtotaling $75 USD | $100 CAD or more so don’t forget to add Past Kits, Refills and more to your cart!
Now is also a great time to shop for Paper Pumpkin Prepaid subscriptions and get the best deals! Shop prepaids here:
Spread the word! Friends don’t let friends miss FREE shipping! Sale ends on 4 October at midnight.
October is a great time to join the Inkin’ Krew!!!! If you join with me (or any of the presenters at the event), you would also be a part of this wonderful Amy’s Inkin’ Krew. Not only that, but at least for me, you would become a member of the Art and Soul Team too, if you remember Jaimie Babarczy’s wonderful presentation, then you already know our fearless leader. The 20% discount is great, but the people are better, check it out!
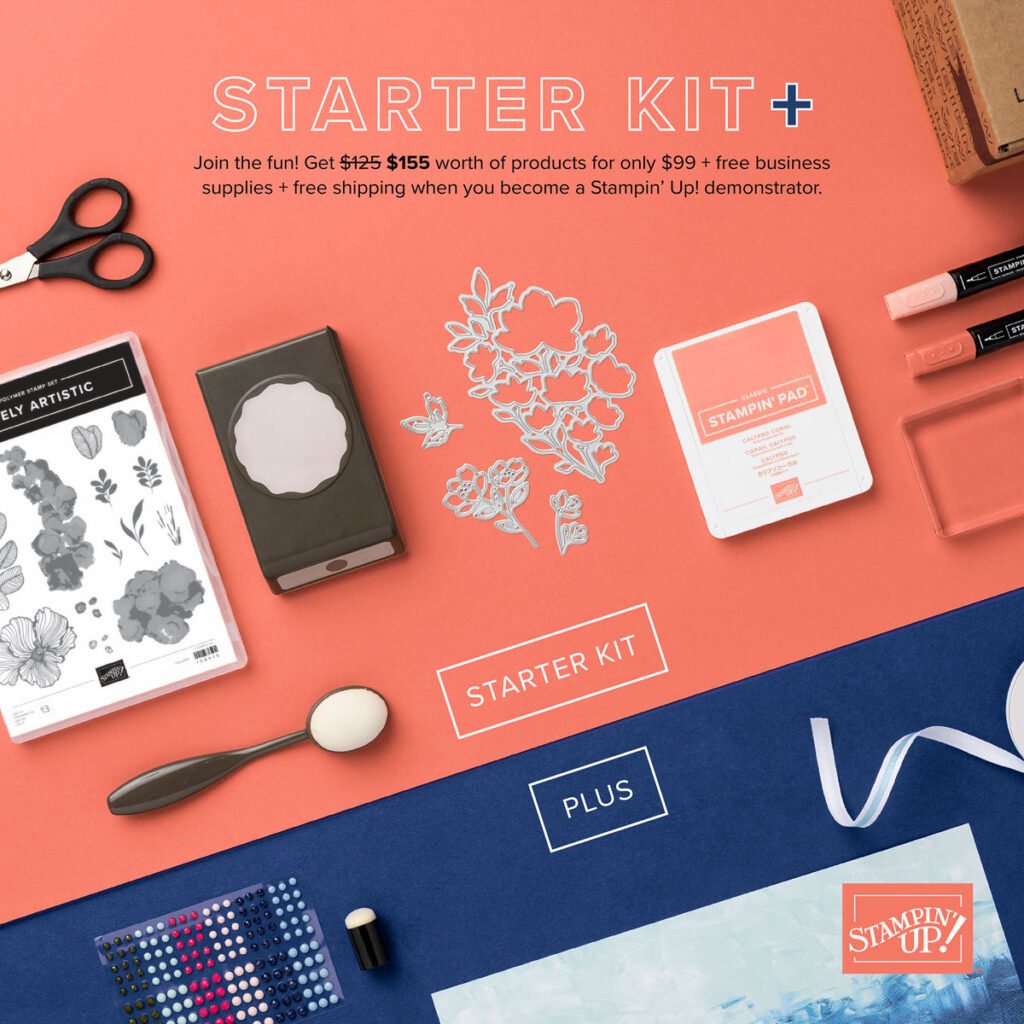
It’s a fabulous time to join Stampin’ Up! New team members will get even MORE FREE products in their customizable Starter Kit. Between 4–31 October, those who sign up can get $125 USD | $165 CAD $155 USD | $206 CAD worth of products for only $99 USD | $135 CAD + free business supplies + free shipping + all the fun being a part of Stampin’ Up!
Please contact me with any questions about joining, I am happy to help you decide if it is right for you, and/or just give you more information. No one who joins is obligated to sell. (Jillian@dyedwith.love)
Cardstock Cuts and other details:
Very Vanilla – A2 card base ( 8 1/2” x 5 1/2” scored at 4 1/4”) ~ 3”x3” scrap (square) 1”x3” scrap (Sentiment)
Early Espresso 2 scraps ~ 1”x2” and other for wreath pieces if desired
Brushed Metallic Specialty Paper 3’x3’ and other scraps for wreath pieces
Cardstock Scraps for wreath pieces in the following colors: Cherry Cobbler, Soft Suede, Evening Evergreen, Mossy Meadow, Vellum, Early Espresso.
Early Espresso Ink, Early Espresso Stamp n Write Marker, Bushed Metallic Dots
Thank you so much for stopping by my blog, and don’t forget to mail those paper hugs!!!!