
Hello Everyone! Today’s project is a fun sparkly Christmas card. You’re going to see a lot of Christmas and Holiday cards over the next few weeks as I send a lot of cards and I make it a goal to hand-make each one. I used the Stampin’ Up! Peaceful Deer stamp set and the coordinating Deer Builder punch. I made this live on my Facebook Page this past Tuesday. If you are new here, I go live every Tuesday at 7:30pm EST. Check out my page here. I hope you enjoy my project! (All the way at the bottom you will find the card stock measurements.)
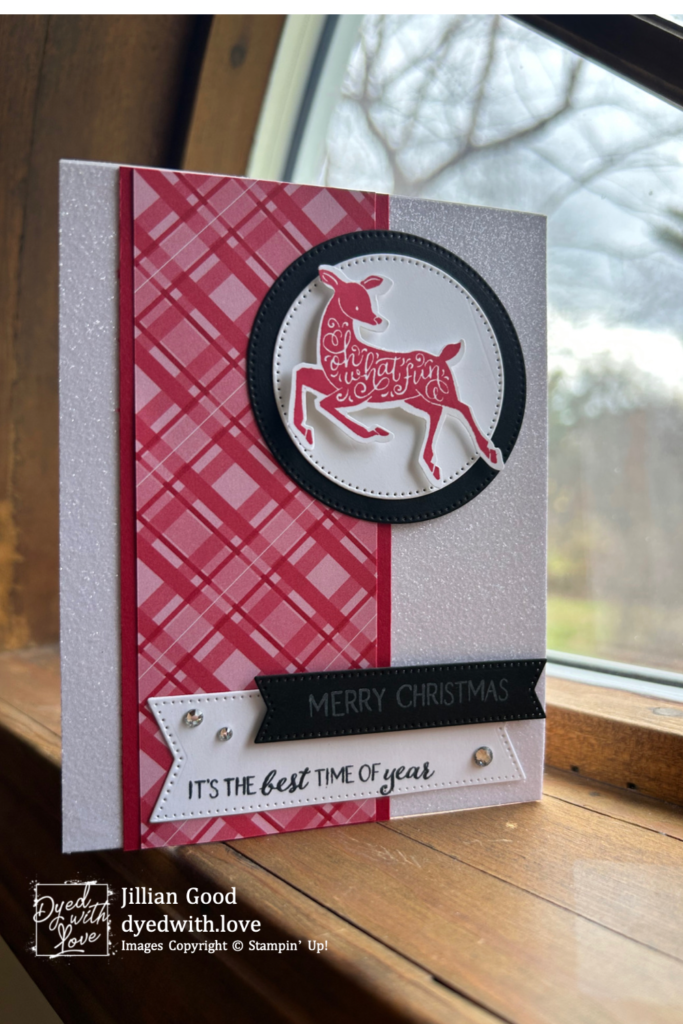
The main products that I used on this card are the Peaceful Deer stampset with coordinating Deer Builder punch and the Stylish Shapes dies. To start, I used an A2 size card base in Basic white and covered the whole front with Red and White Glimmer paper. Then I adhered the Real Red plaid Regal’s Designer Series Paper strip to the Real Red Cardstock so that a bit of the red peeks out on either side of the plaid and placed that on to the left side of the card leaving about half an inch from the fold. After that I started on the shapes.
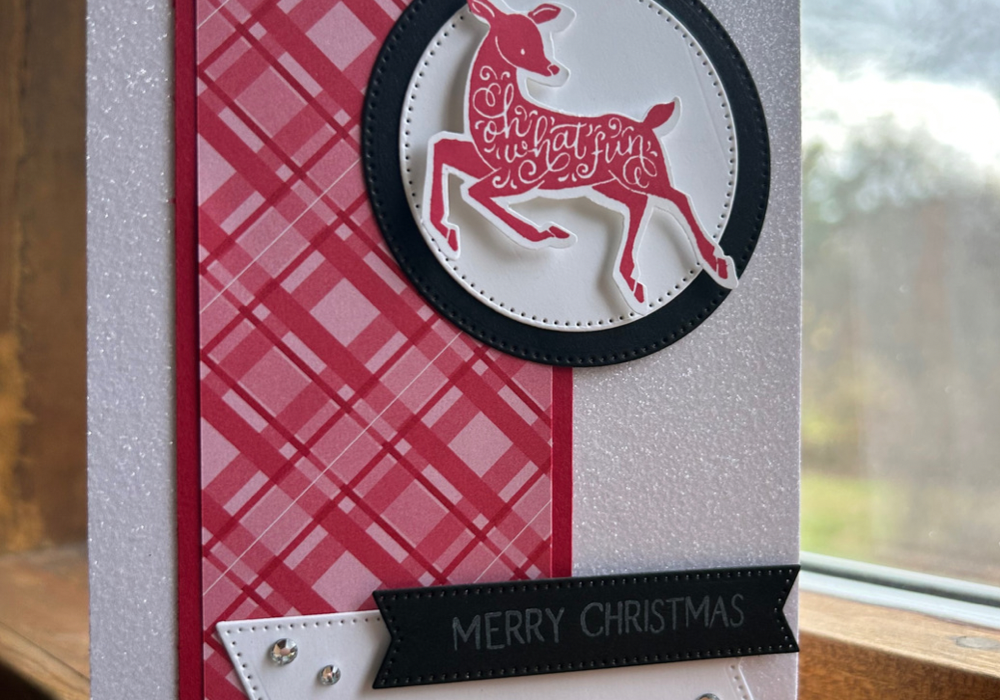
The die set that I used (Stylish Shapes) has many different sized circles, banners and squares. I used the biggest two circles and the longer two banners. I cut the larger circle out of Basic Black and the smaller out of Basic White.For the banners, it was the opposite. I cut the larger out of basic white and the smaller out of basic black.
I took my Peaceful Deer stampset and a scrap of basic white. I inked up the ”oh what fun” deer in Real Red and used the Deer Builder Punch to cut it out. I stamped the sentiments on the banners in basic white ( on the black banner) and Momento Black ink (on the white banner). I then assembled them all together.The larger of the two I used liquid glue to adhere to the cardfront but hte smaller I used Stampin’ Dimensionals, I also used dimensionals on the deer to help him pop up off of the circle. As for the placement of the banners, I just did what I thought looked nice, nothing super official. I liked them to be offset a bit, and I didn’t want to cover any of the words.
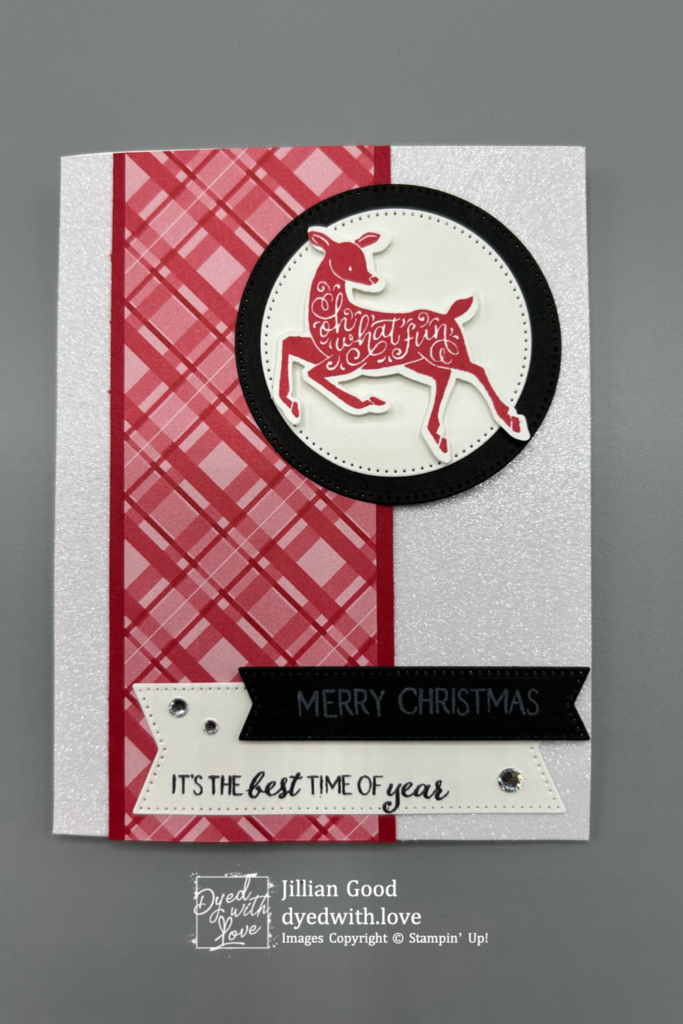
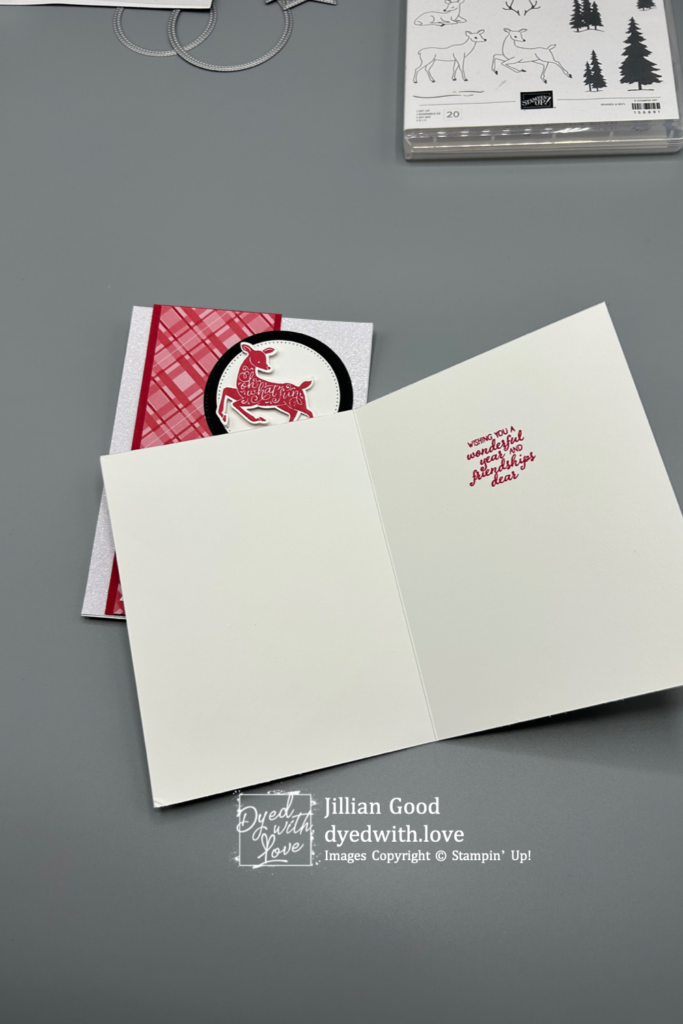
On the inside I just took the “Wishing you a wonderful year and friendships deer” stamp in Real red and placed it inside. For the final touch, I used Rhinestones basic jewels. I placed them on either side of the banners and called it done.

I hope you enjoyed todays project, check out some of the cool things happening at Stampin’ Up! this month below!
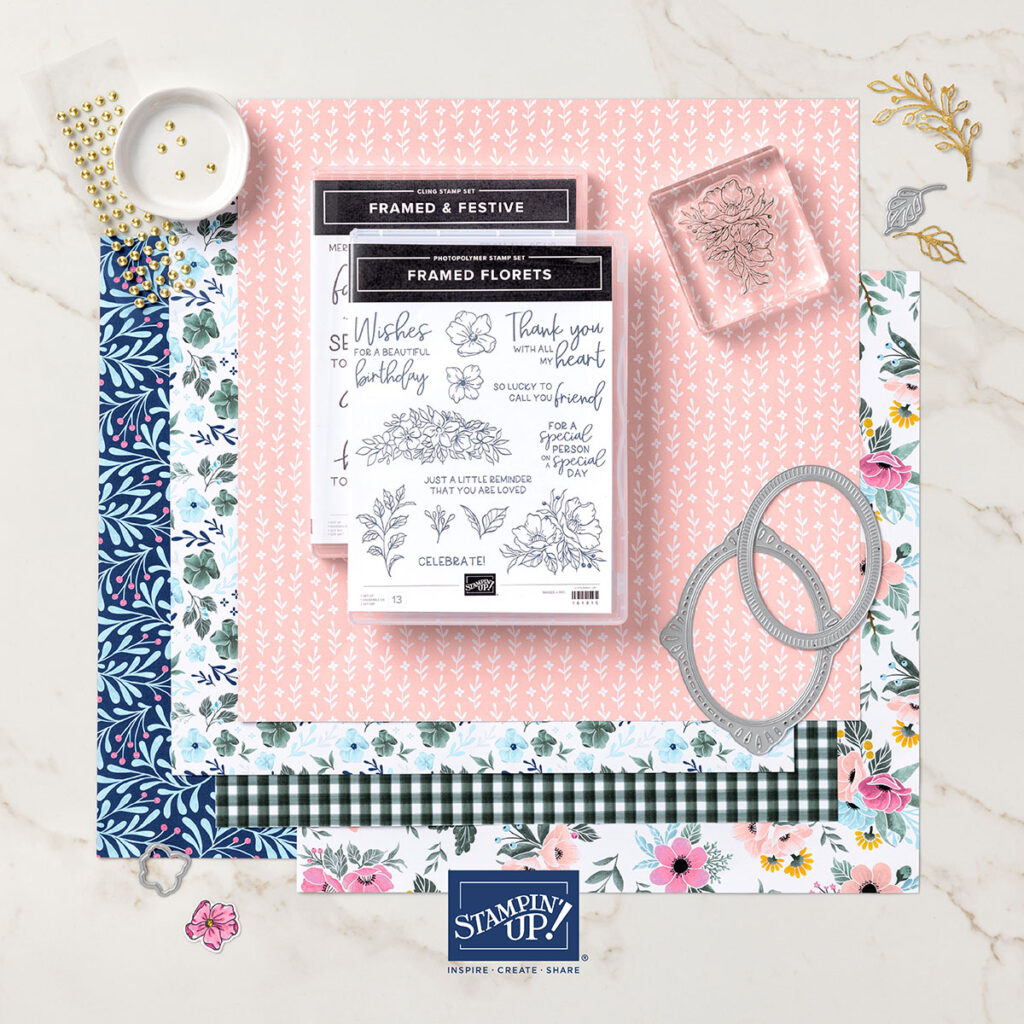
Add just the right touch of elegance to any occasion, including Christmas and seasonal celebrations, with the sweet Fitting Florets Collection. From color schemes to sentiments and embellishments to dies, these unique products blend together so that your cards and crafts fit whatever occasion you might need. Send birthday wishes, express your gratitude, or spread Christmas cheer—with so many options to mix and match you’ll be set no matter the celebration all year!
You can order items from the Fitting Florets Collection now. All items in the collection can be ordered separately.
The following exclusive products are only available while supplies last through January 4:
- Framed & Festive Cling Stamp Set (item 160888)
- Fitting Florets Designer Series Paper (item 161814)
- Gold Adhesive-Backed Swirls (item 161822)
The following will be available for purchase in the Mini Catalog starting January 2023:
- Framed Florets Bundle (item 162407)
- Framed Florets Photopolymer Stamp Set (item 161815)
- Framed Florets Dies (item 160623)
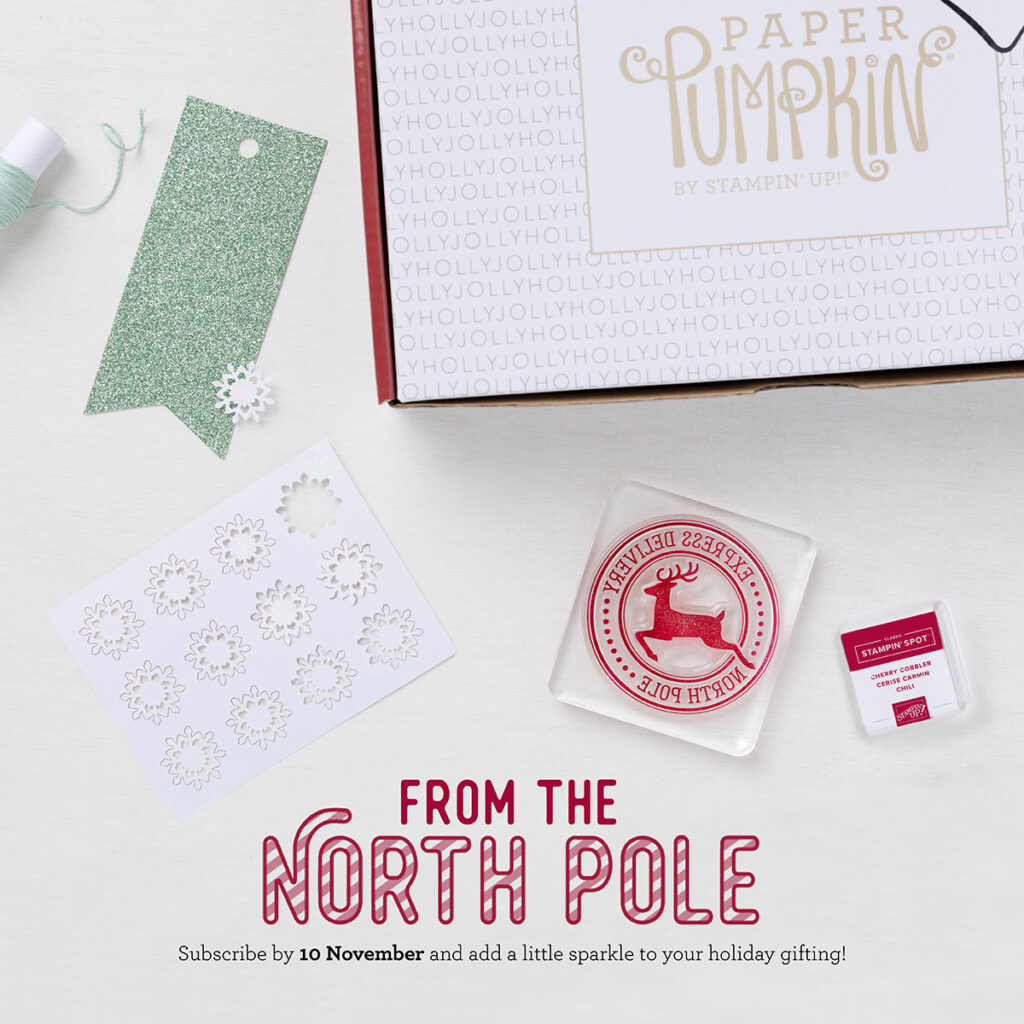
When autumn rolls around, do you start thinking about cozy Christmas crafting projects? This November, Paper Pumpkin delivers this and more with its one-of-a-kind, holiday-themed crafting experience. This festive kit includes 12 fun, sparkly gift tags and (as always!) an exclusive stamp set—plus everything you need for a successful holiday crafting experience. Subscribe here!
Cardstock Cuts:
Real Red 2 1/4 x 5 1/2
Basic White 8 1/2 x 5 1/2 scored at 4 1/4 , large scrap for die cuts
Basic Black – large scrap for die cuts
Glimmer Paper 4 1/4 x 5 1/2
Regals Designer Series Paper (Real Red) – 2 x 5 1/2
Thanks for stopping by my blog, and remember, get those paper hugs in the mail to your loved ones!

Amy Koenders
Such a cute card! Love the layout! 🙂
Thirty Three Stampin’ Up! Projects by Inkin’ Krew Featured Stampers – Stamp With Amy K
[…] made this great card. You can see more information about how Jillian made this card on her blog here. Jillian is a stamper and team member from Schenectady, NY. Jillian’s blog […]