
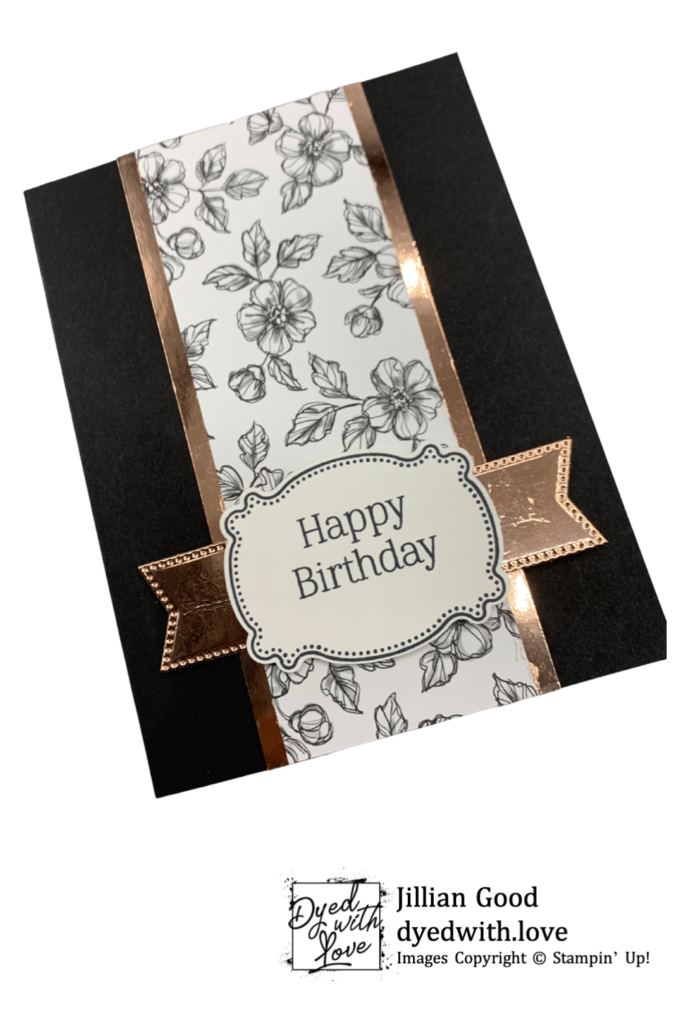
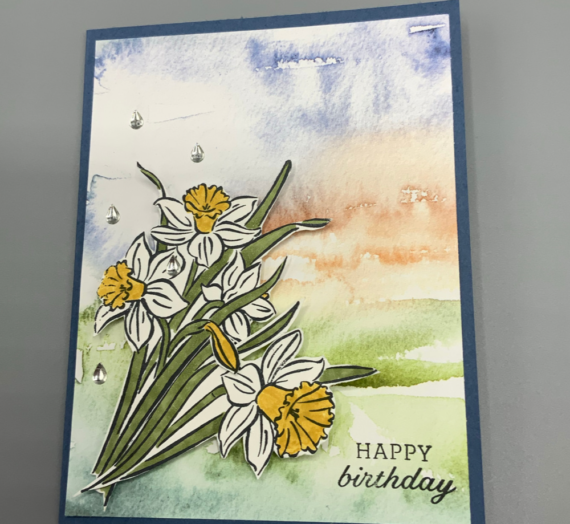
Welcome! Its Inkin’ Krew Blog hop day! This months theme is ”Happy Birthday” and I made a card using the Lovely and Lasting Stamp set/ Punch Bundle from the new Annual Catalog.
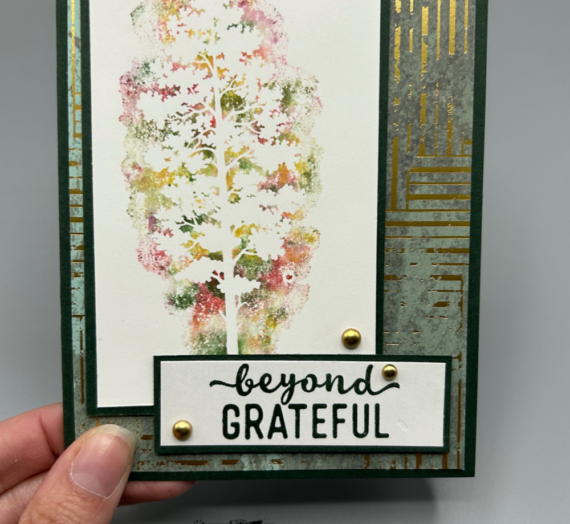
The designer series paper I used for this card is from the Perfectly Penciled pack and is set off by the Rose Gold Specialty paper. This pack comes with sheets in matte, shiny, and iridescent rose gold. I used the shiny for this card.
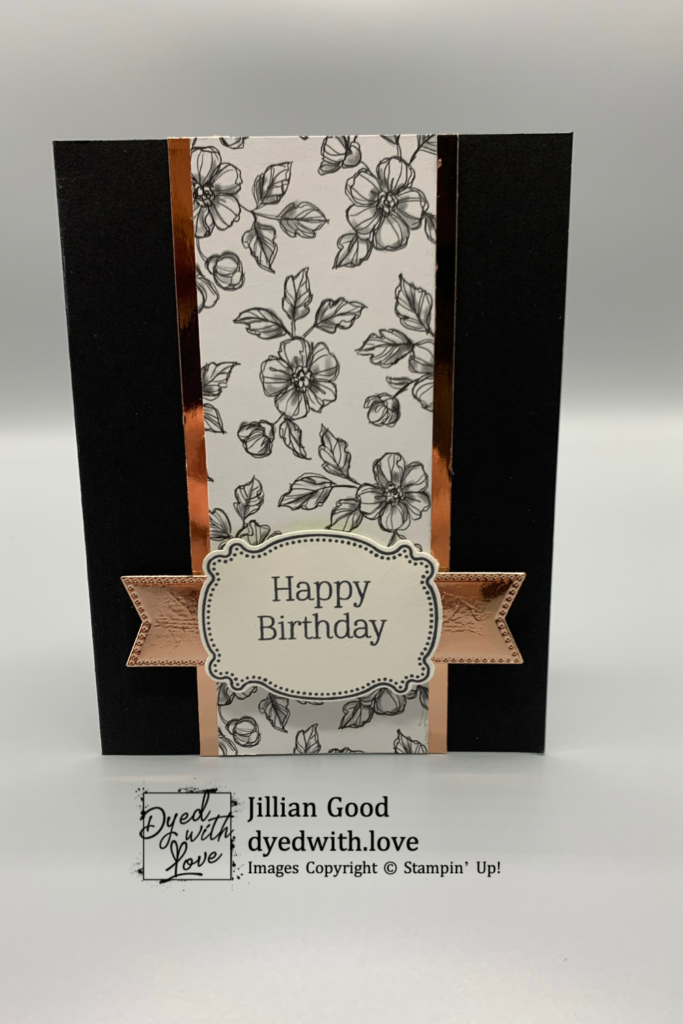
As usual when I have a tricky time coming up with a card layout, I was cruising Pinterest and I found a card similar to this posted by thestampcamp.com. If you have trouble with inspiration sometimes, check Pinterest and search the stampset you are using, or the paper you love, and check out whats there! Most of the time I find something I like and tweak it a little bit.
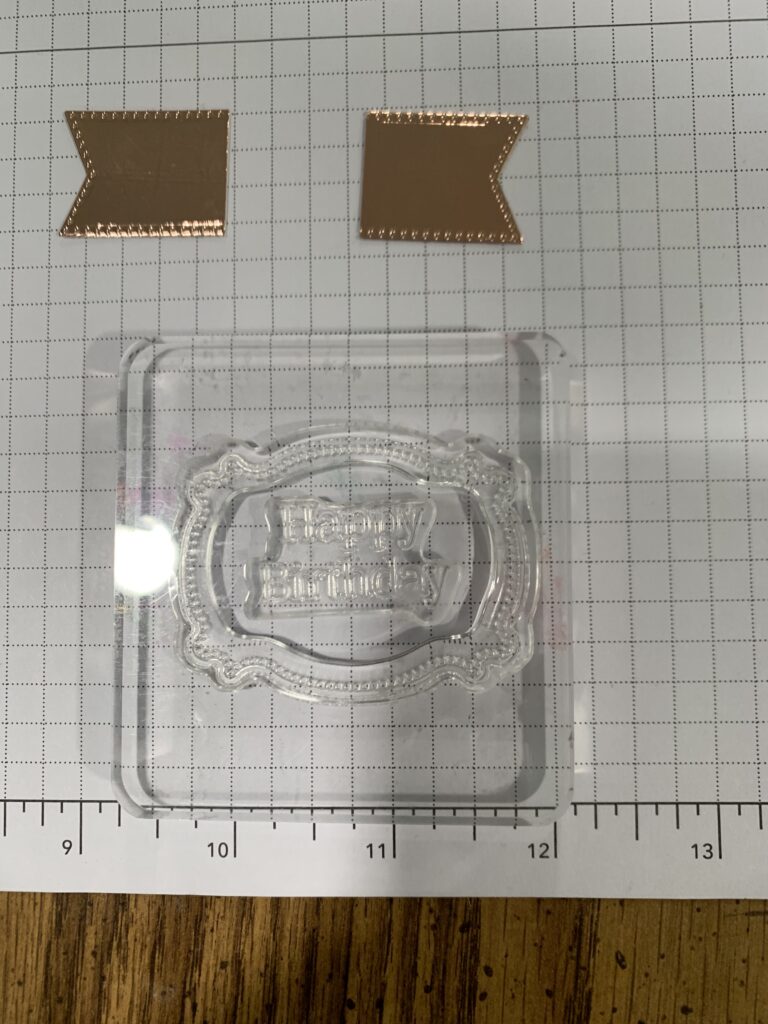
Here’s a little tip/trick for you. To save paper and frustration, I use my grid paper to help line up my sentiments so they stamp straight. I also took one of the smaller stylish shapes dies and cut it down the middle. Since the punched shape is large enough that you don’t see whats behind it, you can make it whatever length you need!
I hope you enjoyed my card today, the full recipe is below with card-stock cuts/measurements and all the products I used. I know you will also love what the rest of the Krew created too!
- Jaimie Babarczy
- Carol Buckalew
- Karen Ksenzakovic
- Mary Deatherage
- Karen Finkle
- Terry Lynn Bright
- Tara Carpenter
- Jillian Good
- Sue Prather
- Akiko Sudano
- Amy Koenders
Card Recipe
Ingredients:
Basic Black Cardstock: 8 1/2” x 5 1/2” scored at 4 1/4”
Perfectly Penciled DSP: 2” x 5 1/2”
Rose Gold 12 x 12 Specialty Paper – 2 pieces 1/2” x 5 1/2” , ~ 1” x 3” (for stylish shape die)
Basic White Cardstock: 3×3 (for punch), 4” x 5 1/4” for inside
Lovely and Lasting Stampset
Lasting Label Punch
Stylish Shapes Dies-Smaller thick banner
Momento Black Ink
Instructions:
- Cut and Score cardbase, arrange in portrait orientation
- Cut DSP set aside
- Cut Rose Gold long thin pieces, attach to either side of DSP with about 1/4” peeking out using Stamp ‘n Seal. Adhere to card base
- Die cut banner, cut in half set aside
- Line up stamps, Ink, and place on Basic White panel
- Punch Stamped image out, adhere banner pieces, one on each side, using grid paper as a guide
- Use Stampin’ Dimentionals to adhere sentiment and banner to card base
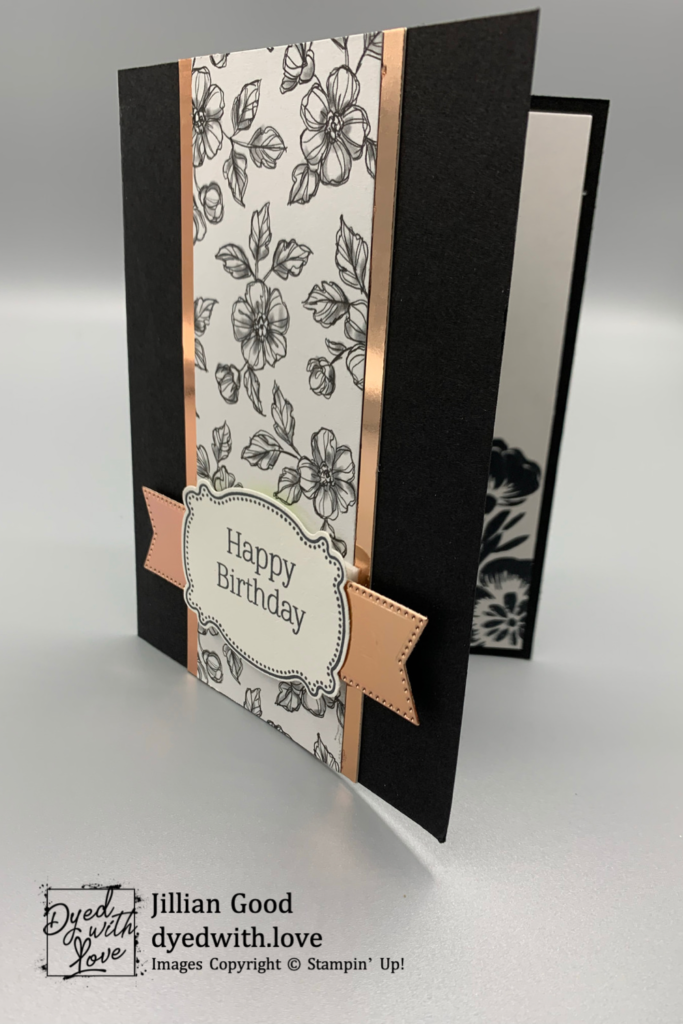
- Stamp flower image on larger Basic White panel, adhere inside cardbase
Don’t forget to send those paper hugs!
Stampin’ Up! Season of Chic Go To Greetings for the Amy’s Inkin’ Krew Blog Hop | Stamps – n - Lingers
[…] Deatherage – This is Me and You are HERE! Karen Finkle Terry Lynn Bright Tara Carpenter Jillian Good Sue Prather Akiko Sudano Amy […]
Akiko Sudano
So pretty Jillian!! The rose foil touches are perfect with the black & white theme!!
Tara Carpenter
What a stunning card! TFS
Karen Ksenzakovic
Such a beautiful, elegant card Jillian 🙂 LOVE it!!
Amy Koenders
So pretty Jillian! The foil touches are perfect with the black and white paper! 🙂
Carol Buckalew
Very pretty! Love the gold accents against the black and white!
Mary Deatherage
Just wonderful, Jillian!
Susan K
Love your foil touches with the black and white. Very pretty! TFS
Julie Johnston
Elegantly done!
Stampin’ Up! Hippest Hippos Birthday Card for the Inkin’ Krew Blog Hop – Stamp With Amy K
[…] Jillian Good […]
Terry Lynn Bright
LOVE THE FOIL WITH THE DSP – NICELY DONE!